Today, the use of coffee percolators is quite rare, and almost every cafe that you visit or frequent barely has a stove-top or an electric percolator. That may be due to their advanced equipment having long surpassed the classic percolators that perhaps only campers, the elderly, and classic coffee aficionados are still very fond of.
However, the seemingly mediocre demand for coffee percolators doesn’t make it a second-rate brewing method, but rather something you should give a try as a true coffee addict, especially if you can easily get your hands on a percolator pot.
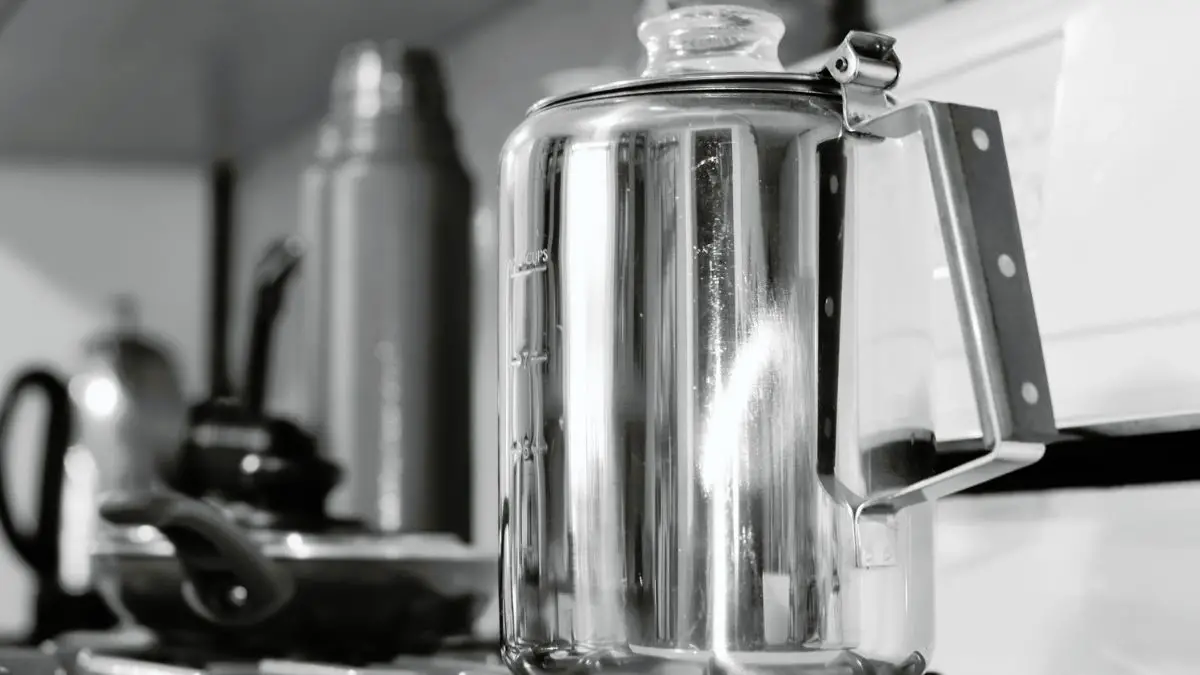
In contrast to the drip coffee maker which consists of two chambers: one above containing the grounds in filter paper, and one below for the liquid coffee, a percolator is a tall stovetop pot with a handle, and has a perforated basket that contains the coffee grounds. This basket is suspended over the water with a siphon tube that would serve as the pressure vacuum to drench the grounds. The process of percolating coffee in this pot is repetitive, which is why this kind is sometimes disdained for being “over-extracted.”
Percolated coffee is well-known for its strong and bold flavors that may be overwhelmingly bitter if you’re not used to it. Since it’s used without a paper filter but a perforated metal filter instead, this allows the easy extraction of emulsified oils and astringent acids. These substances would then introduce the bitter tastes of the steamed joe. You can do something about the taste though, which we’ll get to later on.
Percolating coffee on a stovetop or by electricity doesn’t take very long, but with a stovetop, you have to keep an eye on the boiling and keep the temperature up to about 6 to 8 minutes. With the electric version, it shuts or warms down on its own after reaching a certain threshold.
Explaining The Coffee Percolator
Origin
The coffee percolator brought about the dawn of modernized brewing machines including the Moka pot and Japanese-style siphons. It’s an amazing scientific discovery that blessed many coffee enthusiasts throughout the generations since 1889 when Illinois farmer Hanson Goodrich patented the percolating pot which was said to create “a liquid which will be free of all grounds and impurities.” Of course, there’s a long history behind that, but Goodrich’s patent is the pinpoint event of the official percolator.
True as it is, the percolating pot was designed as a divergent from the cowboy style of decoction – simply boiling coffee with coffee grounds in the pot. I guess Goodrich really didn’t like his coffee with gritty textures, but he kept the traditional way of drinking bold and bitter coffee that slapped a man awake for a busy day ahead.
Design
Much of the original design of the coffee percolator hasn’t changed today, but the electric ones have only added a few tweaks.
Simply enough, coarse ground coffee is stored into a perforated metal basket with a siphon tube poked through. Water is poured into the base of the pot and the siphon and basket are then placed above the water. The siphon is suspended slightly above the water which would create pressure with an increase in temperature, vacuuming the water to seep up the basket and saturate the grounds. As water continues to spray the grounds, the coffee liquid is extracted over and over again until the heat is turned off. A continuous cycle of evaporation and precipitation occurs inside the pot.
The electric version functions the same but uses electricity instead to heat the water. So this method of brewing is done by heating water (to bubbling, not boiling) which causes the pressurized steam to dissolve the water-soluble components of the coffee grounds and thus extract the flavors. Since the pressure and heat are high enough to draw out the astringent notes and mouthfeel of the coffee numerous times, the resulting liquid usually tastes bitter and somewhat over-extracted.
Using The Coffee Percolator
Using a coffee percolator is very easy, and you don’t need as much patience as making cold-brew, but you also can’t leave it off as you would with a drip. The process of percolating means that you’re causing a liquid or gas to pass through a permeable substance or filter. By definition, drip coffee is a type of percolation, but this method more commonly refers to coffee brewed in a percolator pot in our sense.
You would only need a coffee percolator pot, coarse coffee grounds (you can either grind your own or buy some), a stovetop, and a measured ratio of water. Ideally, you’d measure a cup of water for every teaspoon or tablespoon of the grounds. A teaspoon if you want your coffee milder, and a tablespoon if you prefer stronger.
- Prepare your grounds. Coarse grounds are usually preferred because they’re traditional, but also since they have less surface area which means less acidic and astringent flavors would be extracted. Whether you grind them or buy them ahead of time is definitely up to you and whatever you have.
- Fill your filter basket with coffee grounds. You can either do this before or after you’ve installed the basket in the pot, make sure the grounds have about an even surface to them. Press and spread them evenly with a spoon or pestle.
- Fill your pot with water. Remember to keep a measured ratio as you might regret it later on if you neglected to do so.
- Put the pot on the stove and turn up the heat. Make sure that your pot is properly sealed because if you don’t maintain the right pressure and temperature in there, it might end up undesirable. You’d want to start with a low and slow fire as to not rush and ruin the entire process.
- Let it perk and watch it. As I said, you can’t leave this out as you would with drip coffee, since you’re using a stove and you have to keep adjusting the heat as to not let the water boil and the coffee perk too much. Try not to go over 10 minutes with low to medium heat on the stove, ideally, you’d want it done within 6 to 8 minutes. If you’re using an electric version though, then you can be rest assured that it would shut on its own.
- Remove it from the heat. Once you feel your work is done, carefully transfer the pot away from the heat and make sure you’re using a towel or mittens as to not burn your fingers. Remember not to pour it yet as you still have the coffee grounds in there and you’d want to take the filter basket out first.
- Serve it. After taking out the basket and siphon, you can now pour your coffee into a cup and serve with sugar and milk. Sometimes a few finer grounds would get into the liquid because of the perforated filter, but that’s fine since they’d be like powder anyway.
Tips For Making Percolated Coffee
So percolated coffee is known for being bold and bitter as traditions determine, but if you’re not a fan of that, then there are a lot of quick fixes you can do to get a milder cup that would suit your taste.
Use Light Roast Coarse Grounds
Medium and dark roast grounds are usually more bitter because of their “burnt” aftertaste, so you can try using a lighter roast for your version because this would make for a brighter coffee with sweet, acidic, and fruity notes. Make sure the grounds are coarser than your average drip blend, in this case, a personal coffee grinder would benefit you. This is for the sake of the overall taste and texture of your joe.
If you use finer grounds, you risk the chance of those particles seeping into your beverage which would make your coffee feel gritty and possess a stronger astringent taste. Remember that the holes on the filter basket are wide enough that even medium-coarse grounds could seep through. This may depend on the type of pot you have though.
Preheat Your Water
Sometimes, even 10 minutes won’t be enough to properly “cook” your coffee, and this might be because you started with cold or lukewarm water. You can preheat or boil your water first in a separate pot, and once you turn it off and the bubbles calm, you can then pour this into the base of your percolator and start with the lowest heat. This preparation would help maintain the necessary heat and pressure inside your pot from start to finish, ensuring an even and thorough brew.
If you skip this though, try not to bring your water to boiling while your brewing as this would cook your coffee too fast and too much. When the bubbles are constantly escaping your pot, you should turn the heat down, and when no bubbles are coming out after a few minutes, try turning up the heat.
Use A Paper Filter Over Your Cup
If you don’t like the bitter oils infiltrating your coffee, you can use a paper filter that would prevent them from seeping into your cup. There are two reasons why you might think of doing this: you don’t want the oils because of their taste or because they can raise cholesterol levels.
Two diterpenes naturally found in coffee are cafestol and kahweol which are known to raise cholesterol levels when taken excessively. These oils are more common in unfiltered brews such as French press, espresso, and percolated. They’re even more concentrated in brews that contain coffee grounds such as cowboy and Turkish.
However, unless you’re drinking those beverages in excessive amounts each day, you don’t really have to worry too much about your cholesterol, but if you already have preexisting conditions linked to your cholesterol levels, then consider lowering your intake or simply avoid them. Coffee beverages contain very little amounts of cafestol and it would take you more than 70 mg of pure cafestol each day for you to even worry about raising your cholesterol to dangerous levels.
So there’s no danger to drinking percolated coffee and other unfiltered brews in moderation, and even a 2019 study suggests that there are more benefits to having trace amounts of cafestol and kahweol than none at all.
Clean Your Pot Regularly
The taste of your cup of joe can also depend on the state of your pot. It’s been said that the heat inside the pot is high enough to introduce some metallic tastes in your beverage, but there’s not enough study to actually back this up and it’s most probably due to a messy pot.
Make sure to take out your used grounds (use it for compost) from your filter and wipe or wash your filter with soap water, and don’t forget to clean the pot too. You can do this cleaning at least once or twice a week, depending on how much you use your pot, but I highly suggest rinsing it every night.
Bottom Line
Percolated coffee is a classic brew that adheres to its traditionally strong and bold flavor, but even you can easily modify it to your taste. It’s perfectly safe to drink as long as you keep your grounds fresh and your pot clean. The percolating time is averagely done within 6 to 8 minutes, while some prefer 10 because they like the astringency afterward.
Only remember that the longer you perc or brew, the more flavors will extract into your coffee and you may risk over extracting or “burning” your coffee. Well, that’s it and I do hope you get to try this classic brew and remember to always enjoy your coffee the way you want it!